Monday, September 30, 2013

make a colorwheel from a lazy-susan

We made a color wheel!
The first thing we did was talk about the colors in a rainbow. I pulled out the mystery bag (more about that later) and we played with the items within by sorting and discussing what we found. With each color we discovered, I would name it as a primary color or a secondary color. Sometimes I would describe two colors as being complimentary if they were. When it became art time, we gathered at the art table and got to painting.


We began with primary colors and then we worked on secondary colors. We worked with one sheet of paper between two children. Each child used a different primary color to paint with. As they painted and their brushes mingled their colors began to blend and change. The expressions on their faces were priceless!
Once the papers were all dry. I pulled out our thrifted lazy-susan and made a circle template. Having completely forgotten how to divide a circle into sixths I finally settled on folding the circle into quarters then opening it into a half. From there I folded one side of the half circle in towards the center then the other side over that, kind of like when you are folding paper to make a snowflake. Once opened, the circle showed six parts. I cut our the parts and used those as templates for the colors on the color wheel.
 

Cut a large-enough sheet of clear contact paper for your soon-to-be circle and peel backing paper off. Place contact paper sticky side up and place your red triangle on top. Continue connecting your triangles until you have a circle; make sure yo place your triangles in color-wheel order. Red, Orange, Yellow, Green, Blue, Purple and back to Red. My circle was a little short so I cut some more red and layered it down.
Once your color-wheel is complete, add another sheet of clear contact paper over the top of your wheel and tape down onto the lazy-susan using loops of masking tape. Using a lazy-susan will turn your wheel into a game, you of course, do not need one.
To make a color game, I filled a shallow basket with items in colors on our color wheel and put out a small handmade dice with all the colors on it. The children took turns rolling, selecting, and placing.
I also left it all out on a table and let the children play with it as they wished. From simply turning the wheel to make all the items fly off to playing the game as is or to making up their own game, it was quite a hit!

Thursday, September 12, 2013

adding color to the classroom


We have a very large room to decorate and a very large bulletin board patiently awaiting the arrival of new cork. Until then, we will do color mixing and sticky painting...and oh so much more!

Monday, September 2, 2013

a new classroom


for me?

abcs

curtain time

new paint

music makers

dream makers

puzzles

dough love

happy sorting

mystery boxes

nature corner

Yay for new teaching gigs! I can't wait to get out some art supplies....


Saturday, August 24, 2013

spinning pretty


I had an idea for a crafty preschool project that needed a bit of testing first. After a spin for the project, I let the nephew-a-go-go go for it with my stash of happy paint.


Salad spinner as a painting tool is a favorite of mine. I have done this with twos, threes, fours, fives...sand now a ten year old.


The simple process of placing the filter or paper into the basket, squeezing the paint onto the paper, placing the lid onto the spinner, and then manually making it all spin uses all sorts of both fine and gross motor skills. We've used three different types of spinners at the preschool and each one offers up a bit of a challenge for each child. The cool part is once they master one spinner, they can move on to a different design.


Once all designs have been mastered, you can extend spin art through dialogue, estimations, and predictions. There's also a slew of art and science words you can use. While the nephew a-go-go was going for it, we discussed how keeping it to three colors would keep the art interesting. We spoke of the color wheel and I introduced complementary colors.


We also talked about placement of the paint and how the paint moves to the edges of the paper. I gave him the term centrifugal force and we then talked about that.


But mostly we squirted paint and spun ourselves silly.

Check out this nifty video on color. Yay for Bill Nye!

Friday, August 16, 2013

playing with stones


Back in June when we hit the beach and crafted up a storm, we spent a lot of time with rocks and stones.


We drew pictures on them with pain pens.


And we wrote messages across their surfaces.


The colors of the paint pens were so happy and cheerful, I scooped up a pile of rocks and got to making itty bitty people parts (complete with seaweed hats). I also borrowed a face or two from our resident artist, Ander.


I drew parts on both sides of each stone for more mix and match fun. Now I need to put them together with a tin or box.


Can't you just imagine all the fun to be had?

hoop-la!


Back in June I got to sub a prek class at the school. I have had these burlap hoops hanging around the casa for a long while and was eager to see if the kiddos took to them.


The burlap (an awesome thrift score) is glued to the inner rim of the hoop and the yarn is knotted to a plastic embroidery needle.


We went through a few rounds of yarn color. Some kiddos went long and loopy.


One or two opted for tiny stitches.


Success! 


Tuesday, August 13, 2013

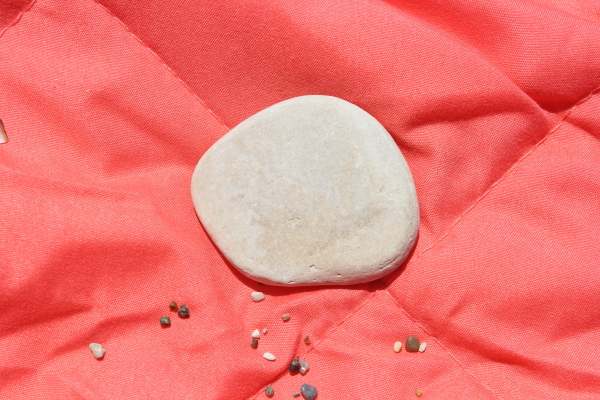
we wrapped more stones with string....


and left them on the beach....

select a stone


tie some string around it

continue wrapping

add a second color if you wish

go crazy and have fun! 


Wednesday, August 7, 2013

4th of july in a jar


Okay, this simple sweet treat was meant to be posted BEFORE the 4th. It's a french soda, with a twist. All you need is a favorite juice, milk beverage, and whipped topping of choice. The magic comes from your candy straw and a smattering of sprinkles on top. We made the blue potion using fizz water and snow-cone syrup. Had I been on it, we would have used pop rocks instead of sprinkles. Yeah, we did.