I never grow tired of the dazzle that is tinfoil festive. I was in in need of a Hanukkah card or two so I whipped out some supplies and created these nifty bits. Wanna make yer own set? You may already have the supplies on hand. Let's see...
Materials
*tin foil
*white glue
*cardboard (I used a cereal box)
*scissors or for grown ups only, a straight blade
*crepe paper streamer or colored tissue
*embroidery thread
*glitter, sequins or other flat sparkly bits
Set up your work area by laying out a splat mat or a large sheet of wax paper. Have your kiddo cut or tear a bunch of colored tissue (I used crepe paper streamers), other thin papers and embroidery thread or yarn. Place them on a plate or nearby for easy access.
Lay out a large sheet of tinfoil (size is up to you). Poor a blob of glue onto your tinfoil and have your kiddo spread the sticky mess all over using a paintbrush, damp sponge or sponge brush.
Brush on or flatten on bits of tissue paper. The more you play around with them, the wetter they get which causes bunching and tearing. Add snipped bits of thread, yarn or string and then more tissue for a layered look. While the glue is still wet, dazzle it up even more with a shakey shake of glitter or salt. Set aside to dry.
While the festive fun is drying, grab some cardboard boxes (cereal and cracker boxes work great, I think I used a yogurt box) and cut into manageable, card-sized rectangles.
Create a stencil for your kiddos of whatever shape you like. I cut a triangle from a magazine insert to create the Star of David. The dreidel was drawn free-form. Flip your rectangles over so the blank side faces down and have your kiddos trace the shape onto the printed side using a dark colored marker.
Cut out the shape your kiddos traced. This part is for the grown-ups only as blades are involved.
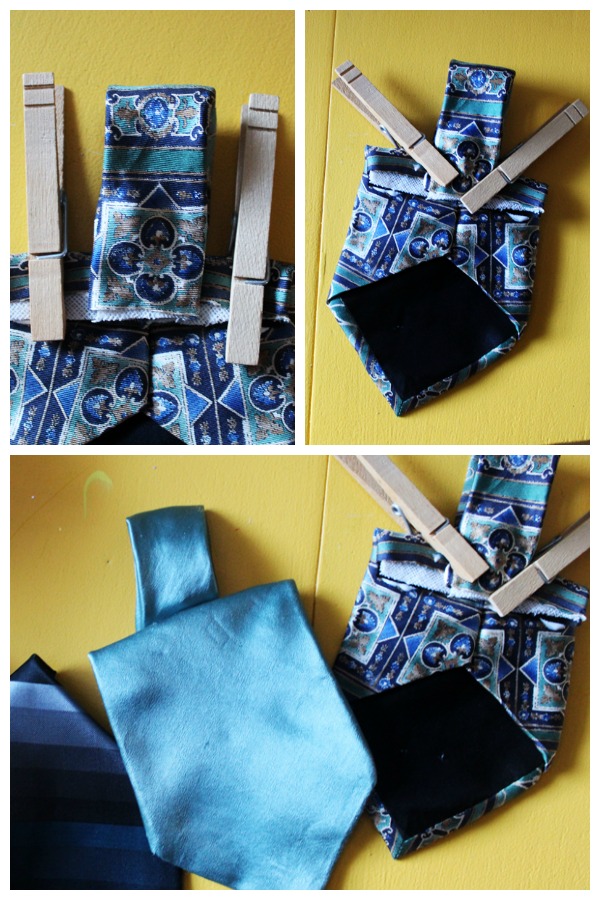
Once your tinfoil fun is all dry and the tack is gone, smother the printed side of your cardboard cards with white glue and have your kiddo place the cards, sticky side down on top of the foil fun. Repeat until all your cut pieces are camping out onto the foil. Lay a sheet of wax paper on top and stack a pile of books on top of that to flatten out the cardboard and give the glue a chance to stick. If you have chosen to cut your foil first, then use paperclips or clothespins to hold the edges places.
Once everything is dry, cut around cardboard with scissors and write a happy message on the back. Happy Holidays!