

Wednesday, November 2, 2011
November is Picture Book Month!

Tuesday, November 1, 2011
thinking in pink

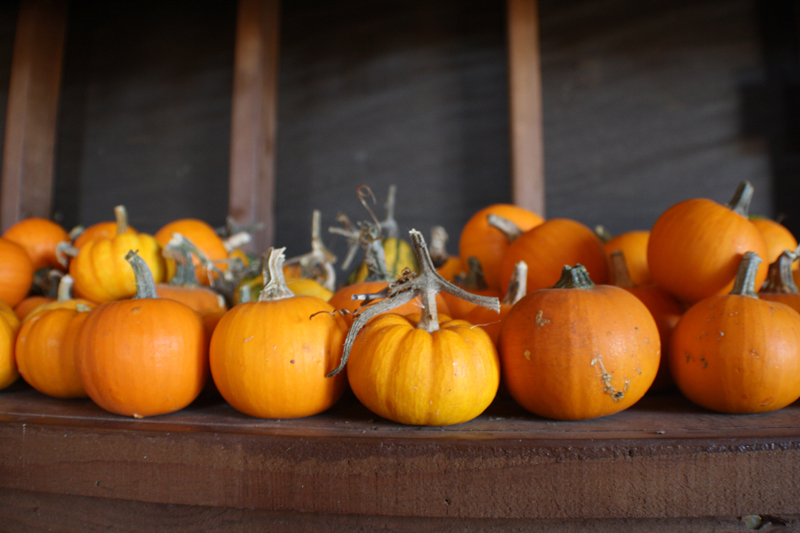
I set out a trio of paint cups. Two with white paint and one with red. The kiddos were delighted to create their very own Pinkalicious pumpkin. Even better was the tub of soapy water for them to wash up with. For two days they painted and painted and painted some more. From two year olds to four year olds, that jumbo sized pumpkin was painted pinker than pink.
We're gonna paint it some more tomorrow with a different color duet. It will be easy peasy. The sponge I set out was also enjoyed as kiddo after kiddo happily scrubbed that pumpkin clean. Check out the book stats down below and happy November!

Written and Illustrated by Victoria Kann
Published by Harper Festival, 2011
Saturday, October 29, 2011
Thursday, October 27, 2011
my misadvantures in Halloween crafting


So, even though, I did manage to glue a little here and paint a little there, all I was able to post was a cookie recipe which is super tasty, I promise! So, here's to next year where you get to see the finished projects that involved pom-poms and cupcake liners. Until then, I put together a Pinterest board full of previous Halloween projects. Have fun and Happy Halloween!

Tuesday, October 18, 2011
halloween fun: chocolate covered candy corn cookies


The first thing you will need to do is to grab some chocolate chips and melt them down either in the microwave or a double broiler. Once you have a gooey mness o' melted chocolate, toss in a cup of candy corn and stir to coat. Once coated, spread out in a single layer on a cookie sheet covered in wax paper and pop it into the freezer. While your chocolate covered candy corn chills, you can get your kiddos' hands washed and mix up the dough.

Ingredients
*1/2 cup unsalted butter (softened to almost melted)
*1 cup white sugar
*1 5.1 or 5.2 oz box of vanilla pudding mix
*1 tsp vanilla
*2 eggs
*1 tsp baking soda
*2 T corn starch
*2 cups of flour
*pinch of salt
Preheat oven to 350 degrees F.
1. Combine the pudding mix and sugar and add your super soft, almost melted butter and mix with an electric mixer until pale.
2. Add your eggs and vanilla and mix a bit more. Remove mixer and grab a wooden spoon.
3. In a separate bowl, combine the flour, cornstarch, salt and baking soda. Slowly add to your sugar/egg mixture and mix with the wooden spoon until combine.
4. Safely away from the wee fingers of your kiddos, chop up the chocolate covered candy corn and mix in about 2/3 into the cookie dough.
5. Roll a blob of dough into a ball about the size of a large marble and pop a bit of candy corn magic on top, sprinkle with a wee bit of sugar and press down flat with the bottom of a dry measure cup or small drinking glass.
6. Place on cookie sheet about 1 1/2" apart and bake for 10-12 minutes. Cookies will puff up and then flatten out once cool.

Saturday, September 10, 2011
First Day of (Pre) School Blues

Children are magnificent learners and brilliant to boot. All children are no matter their abilities. Finding a center that makes your heart sing and your kiddo smile is the most important tidbit you need to focus on. Once you have that figured out, you can carry on a search for what style of schooling you think you AND your child will benefit most from. I've known parents who were all about Waldorf but their kiddos were more Play Based. I've worked with children in Play-Based schools that found peace through the rhythms of Montessori, so it is very important to pay close attention to your child and how they processes information. Not every child (or person for that matter) acquires knowledge in the same way.
I've spent more than a decade studying and researching different approaches and theories to early childhood education and have developed a few of my own ideas and ideals as to what I believe in regarding how children learn. As I said, first and foremost, children are extremely CAPABLE and quite brilliant and given the right tools (for them) they can grow to be extremely capable and brilliant adults. I believe any type of education is a good thing but finding the right fit can make it even better. In the next few months, I hope to bring to you more of my ideas and share my favorite theories and projects. It's the organizing of all this information in my head that makes it most difficult for me but I think that if I can't get it out of the noggin soon, I just very well may burst! So here, in a nutshell is my number one piece of advice for you to share with your kiddos, no matter their age:
Love to learn.
No matter what the learning may be about, show a great love for the discovery of new things. Cook a new recipe, read a new book, plant a new plant, or learn a new word. Just go for it and try something or learn something new today that you didn't know yesterday. Make it a habit and make the reflection on your new-found knowledge a habit as well. This world is full of amazing and wonderful things and all of it is out there for you to grab it!
Wednesday, August 10, 2011

Monday, August 8, 2011

Sunday, July 24, 2011
Build Your Own Adventure Bag

One of the neatest things you can equip your kiddos' with for when they are out in the "wild" is an adventure bag full of fun.

I whipped up these bags from scrap fabric pieces and burlap I had floating about but you can use any pre-made bag. Having a strap so that the bag hangs cross-wise over the body is probably best. That is how both ander and zaza wore theirs. One that is not-so-fancy and water proof-ish is a good idea as well.
Here's what we put inside the bags:
*pack of gum
*handmade book or notebook
*stickers
*small plastic baggies for collecting
*whistle
*magnifying glass
*paper clips
*pencil & sharpener
*sharpie
*index cars & tags


Monday, July 18, 2011
revisiting a classic: tin-can telephone

Did ya know that tin-can telephones work just as well with styrofoam cups? We had some cups from a recent eatery visit so we brought them home with us and used fishing line and they worked! Now they're even more customizable. Break out the markers and get to tinkering!


Thursday, July 14, 2011
garden time

It's down to the wire and I am far past cutting it close but I wanted to encourage those of you in the states to plant pumpkins! July 4th is generally a good reminder for a last date to get some seeds started but I suppose if you are not going for a world record, why not start some now? One vine is all you need to produce a handful of the happy gourds and the variety out there to choose from is extraordinary so why not grab some potting soil, an egg carton and a pack or two of seeds and begin?
I have had two packs of seed lazing about a bowl in the garden patiently waiting to be dunked in soil. I also have an ENORMOUS vine taking over the yard that currently has three not-so tiny pumpkins ballooning from its curly tendrils. Methinks the seed will wait until next year. Like I mentioned up there, all ya need is one vine. They can grow massive and quite beastly but they are super cool and there is much to view when given a chance.

Pumpkin vines are prickly to the touch. Not overly painful but prickly enough to want to wear gloves or be careful when handling the beast. The blossoms open quite early in the morning and you may often find a lone bee cozying up inside. The pollen of a pumpkin plant is quite attractive to bees, I have especially noticed the awkward black bumblebees bouncing about from orange blossom to orange blossom. The stems are hollow and the tiny tendrils and leaves that form have a mightier than mighty grip as they curl about stray garden gnomes, tools and furniture.

To tame your vine, you can liberate the stems that have not produced any blossoms. If you take a gander everyday you will notice that once the flowers poop out, a baby pumpkin takes its place. Each seed will produce one vine which will sprout secondary vines. Keep an eye on your main vine and prune out the secondaries. Once your main vine gets a handful of pumpkins popping up, you can pinch off the end to prevent more from growing thus rescuing your garden from complete pumpkin invasion.

To harvest, use garden shears to liberate your prized squash. do this 5-6" away from the fruit so that you have a delightful stem. Set in a cool dry place until carving or baking time. Pumpkins like sunlight and heat so if yer getting close to frosty temps, harvest sooner than later. There are all sorts of websites out there devoted to pumpkins and they all read fairly technical-like. Our pumpkins tend to be volunteers from the compost pile so we know where they like to grow. By starting your seeds inside and then replanting a few all over the place you will hopefully find a location that the happy sprouts enjoy. The only other thing i can add (until I remember more) is that after a while, powdery mildew may set in thus making your happy pumpkin vine look a little less than happy. Stick with it and harvest as soon as your pumpkins turn orange, though we have been known to pick em green and watch them turn orange as they ripen. We also do not use pesticides and would recommend you do not either. Cucumber beetles might move in like gang busters but if yer not growing any large food crops you can simply flick them off with your fingers.

And if pumpkins aren't your thing, plant something else whether it is food (strawberries & lettuce!) or flowers (sunflowers!), getting your hands dirty in the name of gardening is generally a delightful thing.
More pumpkin growing info:
Thursday, July 7, 2011
have dough? add sprinkles!

Do you remember this recipe? With a little yellow cake mix magic, I turned 'em into cake batter sugar buns! Sooo good!


Sunday, July 3, 2011
July 4th: newspaper pom-poms


Take yer new poms out and go a little rah-rah crazy. Happy 4th!


Saturday, July 2, 2011
make a july 4th garland!

I designed this project for craftzine for us crafty grown-ups but you can totally tweak it so yer wee ones can play as well. They can paint up the bunting bits after you have added the tap as well as smoosh up the cupcake liner and glue things in place. The how to can be found over at craftzine.
Saturday, June 25, 2011
guest blogging: Skip to My Lou

Howdy folks! Skip on over to Skip to my Lou for my nifty take on making marbleized prints with shaving cream. Cindy has put together an awesome thirty days of fun with this summer's skip to My Lou {Craft Camp} so if painting is not your thing there is sure to be something to delight ya! Happy Crafting!
Tuesday, June 7, 2011
guest blogging: The Crafty Crow

Friday, June 3, 2011
crafting for craft: make a play camera

This one is for your kiddos! check out the craftzine blog for the tutorial. I'll be back on Tuesday to add a proper link. Happy crafting!
Subscribe to:
Posts (Atom)